Wow, it’s been a long time since I’ve had a moment to write, but I really wanted to update those of you who are following.
At first things were at a standstill due to the winter. As the weather got cold last fall, I really couldn’t paint or do much in it and then in February I moved the RV to a repair shop where it sat until recently. Unfortunately, there was no progress made. The mechanic I had working on it made a lot of promises about the RV, my Firebird and a Mitsubishi Montero I bought. It’s a long story about how ALL of my vehicles ended up in one place (I’ll save it for another blog entry) and why no progress was made. The good news is that I have people helping me who actually are making progress!
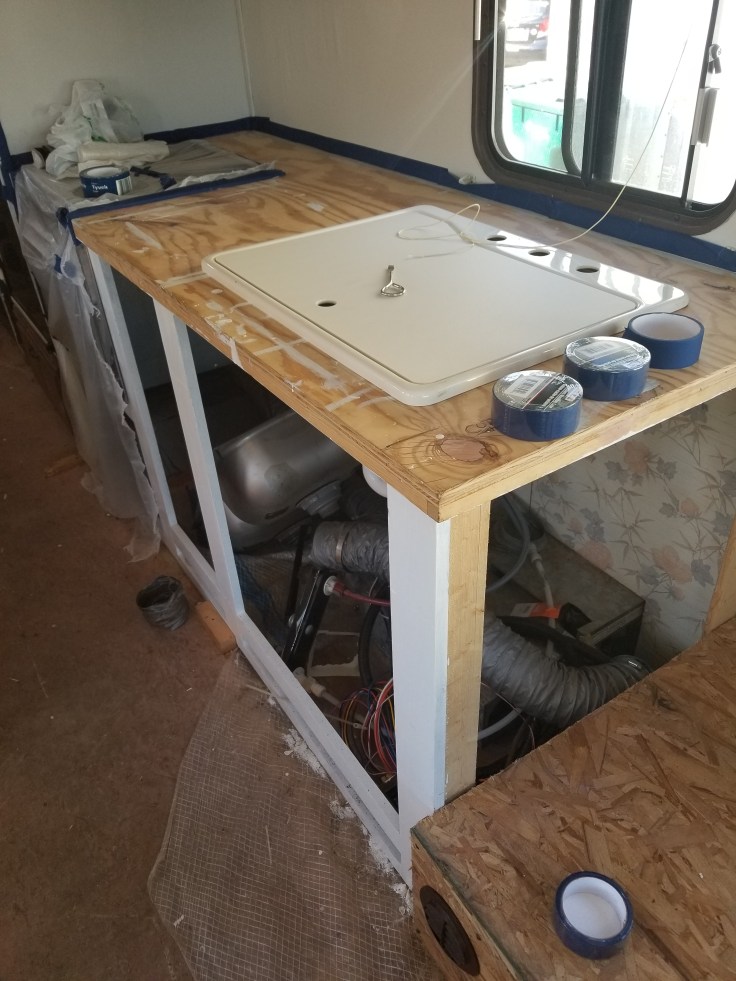
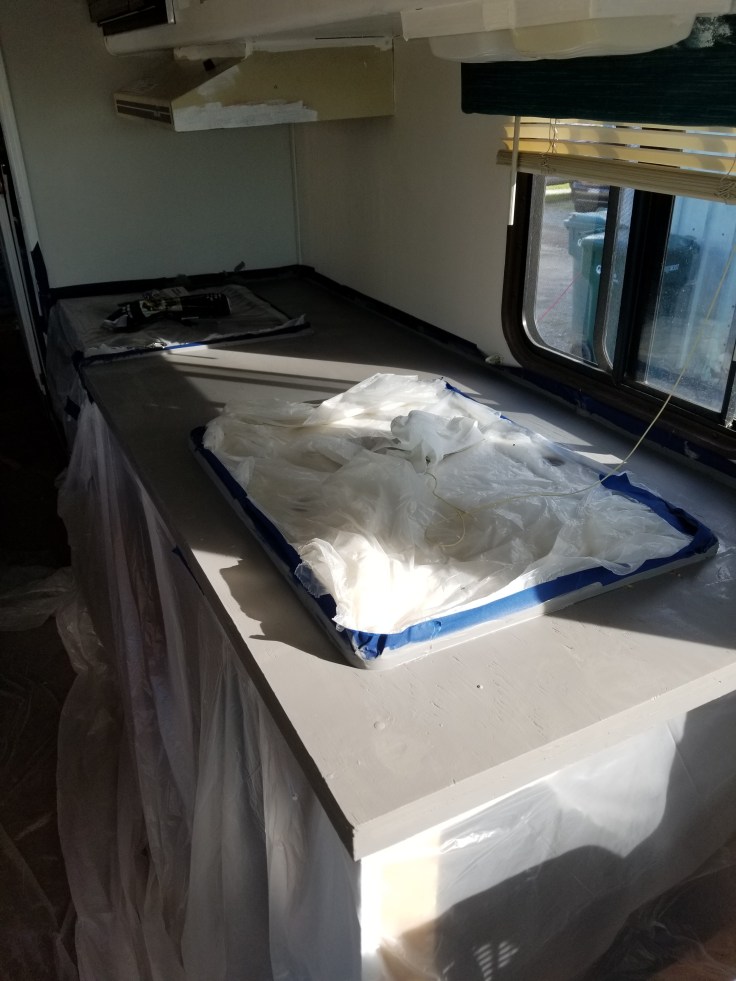
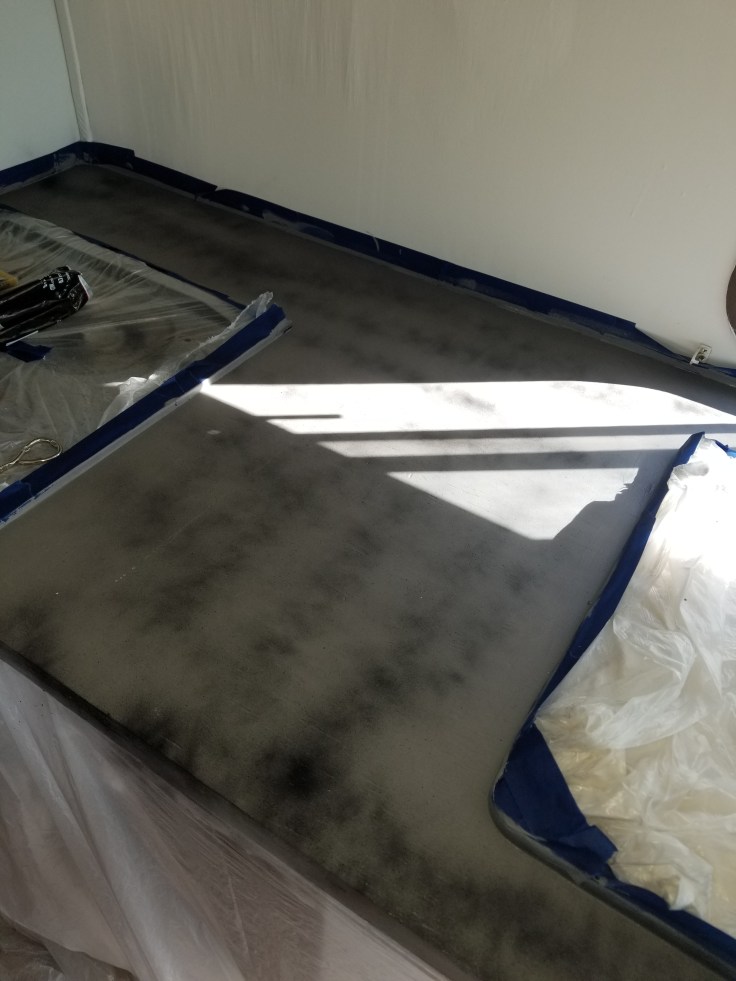
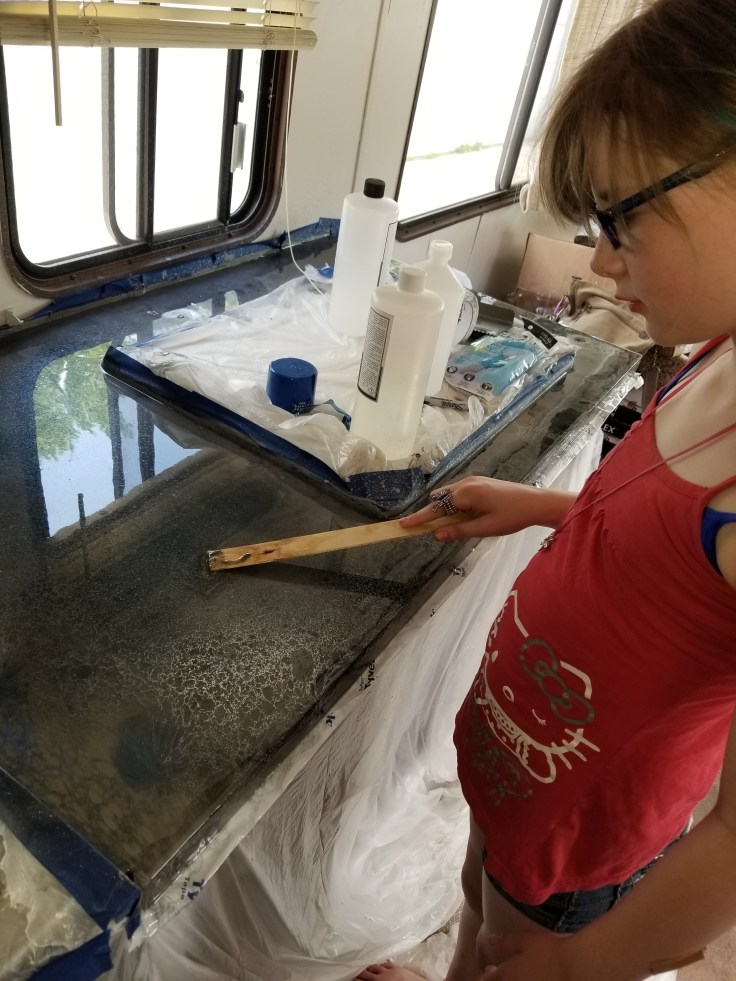
The countertop, oven and sink have been installed. The last owner actually build a new lower cabinet frame for the small kitchen area and built a wooden countertop. He was going to cover it in dark laminate and gave me the roll. I thought that was too much effort and decided to do a Stone Coat Countertop. I can only hope that my version turns out as good as the video I’m trying to copy, but this is the look I plan to go for: LIQUID EPOXY with a paint stick. I plan to order what I need this week and I’m very excited. I’m also going to be picking up the flooring, which will be a vinyl plank in a light grey.
If you’ve been following my blog, you may have read where I make small investments each week out of my paycheck. I decided to sell the stocks I had, which wasn’t much. I’d been giving $5 here and there once a week for about a year and 3 of the 4 I was giving to were doing well. I cashed about somewhere around $950. It just so happens that I figured I need about $1,000 in things for the RV to leave, so that was very helpful and once I get moved, I will start re-investing again. In case you’re interested, I do have a referral link. You can do it for just $5 and you can control when it comes out. I had mine set up to automatically come out weekly, because I get paid weekly. I started with two and when they were doing well, I added one or two more. Here is the link: Stash Invest.
The countertop will cost about $70 for what I need to order from the site. I can get away with a sampler kit because I have such little space to cover. I believe I will have enough leftover to do the small countertop for the bathroom area too.
I have a case and a half left of the flooring already. I put the same flooring in my bathroom earlier this year and that’s what I had left. I believe I only need to purchase 2 more cases, but I will purchase 3, because it is not available locally and I have to drive about an hour to get it. I’d rather have one too many that I can either return later or keep for repairs then be one less and have all the stores be out. It will cost me about $150 to finish purchasing the flooring and since I’m buying it from Menard’s right now, I’ll get a 11% rebate.
Other things I need to purchase include a new step for the entrance, a new mattress, and curtains (I’m purchasing some curtains from Walmart and cutting them down to the right size and sewing them. I believe I can get 3 curtains out of a panel and each window needs 4 short panels. I already have one set I use in my bedroom currently, so I’ll recycle that and since there are three big windows to cover, I’ll need to buy just two more panels at about $13 each. I’ll work on something for the front windshield later on and am focusing on just the side windows. The back windows by the mattress already have shades I like and so does the doorway and the small kitchen window. I also have a divider between the bedroom and bathroom area and the rest of the RV, so for now, changing can be done behind it.)
I am keeping my fingers crossed that all of my appliances and things work. Things like the refrigerator, oven/stove, microwave, water pump, water heater and the air conditioner.
Mice chewed through the built-in power cord, so that has to be replaced, but the current mechanic was able to find a 40 foot replacement for FREE (my favorite word). Also, one of the vent covers on the roof has cracked and is broken since moving the RV and the other guy working on it was able to bring me an extra one he had for FREE also.
I have decided not to move my TVs. First of all, my 55 or 60″ TV is about 3 or 4 years old and was a cheap brand when I bought it. I think I paid $350 for it from Walmart’s website. The sound is terrible on it and last year I finally purchased a soundbar so I could hear it!! I have to move my stuff (eventually) 2200 miles. Chances are, the TVs might not make it. Smaller TVs I have in other rooms are older and heavier. I’m looking for a thin, lightweight TV that is good quality. I can buy something reasonable at Walmart and figure if I sell what I have, I can repurpose the money for a new small TV and then when I move into a house again some day, I’ll just have to buy a TV.
I rented a 10 x 20 storage building last weekend and began putting things in it. The process for emptying my house is very difficult with my 6 day a week work schedule and being the only adult working on it! My 10-year-old daughter is a huge help, but there is only so much she can do. A second adult helping would be great!
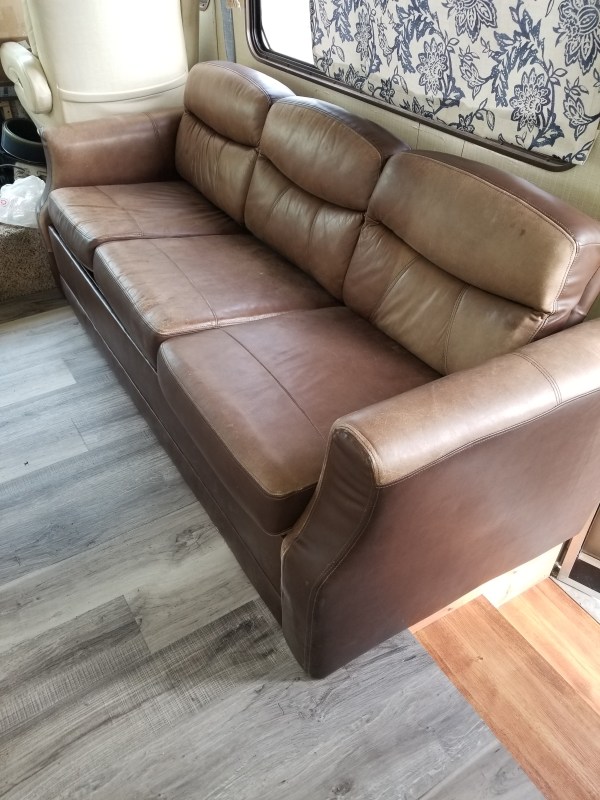
The best plan I can come up with was to pull as much garbage/throw away stuff as I could out last weekend. This week is the “bulky” pickup for my city. They only do it once a year and claim that only certain things can be picked up; however, each year everyone throws out whatever they want and they seem to take it. Now watch, this will be the year I do that and they leave most of it! We will see. So I piled my curb pretty high with stuff and paid $25 for two old couches and a baby mattress to be hauled away. I took two loads over to the storage building on Sunday and I actually can see a difference in the garage.
I wanted to have a garage sale last weekend, because it was also the big garage sale weekend for my city, but I realized much too late that I was not prepared. I was up until 1 a.m. Friday night working and could not bring myself to be up at 6 to set up a garage sale. Also, the weather had turned cold (in the 40s) and was raining and so I decided to just put it off until I am ready.
In order to make all of this work, I have to sell two vehicles AND about $1500 worth of my stuff before I leave! Ha, doesn’t really sound like it’s going to work, does it? Especially when I’m shooting for being out of here the first two weeks of June.
Worse case scenario I will have to hang around WI in the RV in order to come up with the gas money and one month’s site rental in OR, but the important thing is getting out of this house and making sure it is empty and clean for my landlord.
My goal this week is to take down the dining room table set and baker’s rack in the dining room and to move those thing into storage. I also have random things I can take now (such as a fake knight and armor – short human sized – that I have in the living room. The goal is to get anything out of the house that I’m not currently using. I’d like to get the garage and basement cleared out first, as well as use the empty dining room (once it is empty) store a pile of boxes and items ready to go to storage. I figure if I work on it a little bit each evening, I’ll see some real progress.
One massively obnoxious thing that has to be done before I move is to have help literally pulling apart the staircase leading up to the second floor where my bedroom is. When moving in, all the steps but one had to be removed in order to fit the queen box spring up the stairs. I’m not about to leave my Sterns & Foster box spring and mattress behind, so the effort will have to be repeated.
So a lot of progress is happening, but I am still so far away from being ready! I just have to keep plugging away at it. The more I do over the next two or three weeks, the less of a burden it will be when it’s time to go.
One thing I’d like to do is have my RV outfitted with about 300 watts of solar panels before I go and have the help. I don’t want to get the kind that I have to set up each time, because I am worried about theft. It’s about $300 to buy the three panels online and $15 for the mounting brackets for each panel, plus there is a handful of stuff I have to buy to hook it into the system. I’d like to be able to boondock if needed. Between the solar panels and my holding tank, it should be possible.
One other issue I ran into is that because my RV is older, my propane tank is actually built-in. Many places will not refill them if they are built-in, because they don’t realize you can. If they are built-in, I discovered, they do not have to be re-certified and can be re-filled as long as they are in good condition, so we are going to sand the rust spots off and repaint mine. I bought three cans of a primer and paint mix from Walmart this morning.
I was lucky enough to find a gas station in the same town where the RV is being stored that is willing to refill the tank for me. In the future, I will have to find another place like that or will have to get an adapter that hooks my current system up to a refillable tank like you’d use on a grill. That’s not ideal for me, so I am hoping that since I am going to an area that has a high amount of long-term RV residents, I won’t have a problem getting it filled.
The current goal is Waldport, Oregon. After a lot of research, I decided this is the place I want to go to. It’s right on the ocean and seems to have a lot of the qualities we’re looking for. I was hesitant in choosing beach life over city life (worried I’d get bored), but my dream is to be by the water and this is how I can do that.
The ultimate plan is to buy a piece of land (in about a year) that I can move my RV too and then work on putting up a tiny house. Eventually I want to build my dream house, but this is how I want to start. I’m tired of renting and at the moment, cannot get a mortgage. A lot of that may change in the next year as I reduce my bills and live a simpler life. As long as I keep the mortgage payments up on a piece of property I use as a rental and continue to make repairs on that rental, in a year I should be able to finish repairs and sell the home. I actually have equity in the house, so that would be huge in helping me achieve my dream home.
This post has been long. I thank readers who are following along and hope to have more time to blog about this experience as we go